Entertain the kids during October with a fun craft that can be give as a gift or favor on Halloween with these Halloween Painted Rocks. You can find rocks just about anywhere – including your backyard. You can use this idea for other occasions too such as Thanksgiving, Christmas, and anything you like really. If you are making up a Halloween gift basket, then these creations are perfect to add to them too.
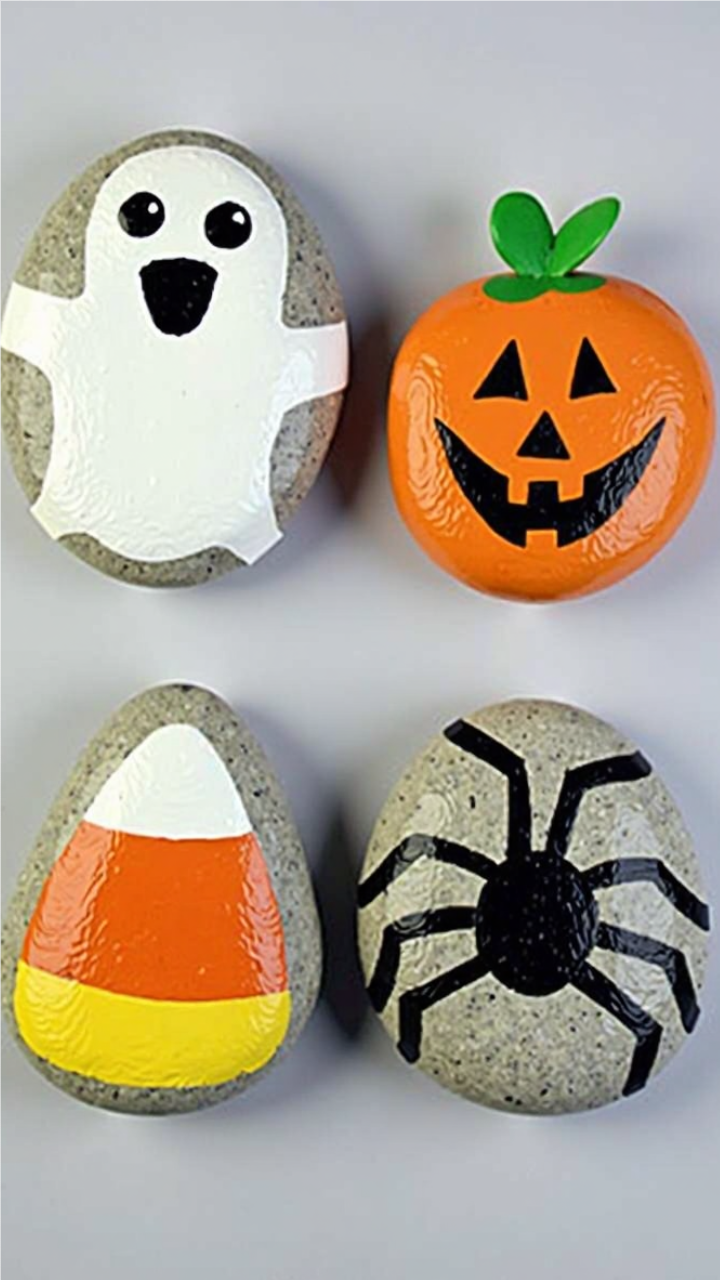
Make a whole collection of spooky characters by painting rocks like ghosts, spiders and pumpkins.
Supplies
- Smooth rocks (flat, rounded ones work best)
- Acrylic paints (orange, white, black, yellow, and green)
- Paintbrushes (various sizes for details)
- Fine-tip paint pens (optional, for outlining and details)
- Pencil or chalk (to sketch designs before painting)
Instructions
Wash and dry your rocks to remove dust and dirt. If needed, apply a base coat of white paint for brighter colors. Use a pencil or chalk to lightly sketch your design. Some ideas include:
Ghost – A simple white ghost with black eyes and mouth.
Pumpkin – An orange jack-o’-lantern with a green stem.
Candy Corn – Classic orange, yellow, and white stripes.
Spider – A black spider with long legs on a gray background.
Use thin layers of acrylic paint to fill in the design. Let each layer dry before adding more. Outline details with a fine-tip brush or paint pen for a crisp look.
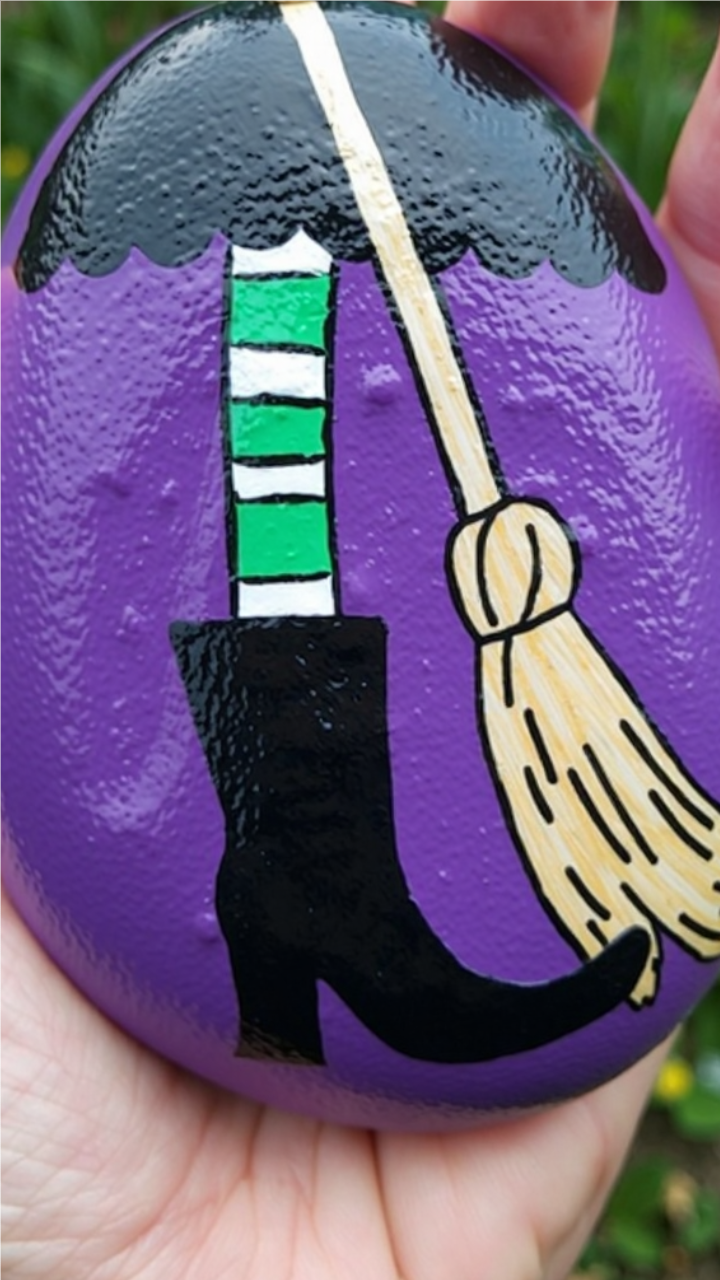
Double, double toil and trouble, paint this classic witch design and watch a cauldron bubble.
Supplies
- Acrylic paints (purple, black, green, white, beige, and yellow)
- Paintbrushes (thin and medium-sized)
- Fine-tip paint pens (optional, for details and outlines)
- Pencil or chalk (to sketch the design)
- Sealer spray (for protection and shine)
Instructions
Paint the entire rock purple for the base. Use a pencil or chalk to lightly draw: A witch’s black boots with curled toes, Striped green and white stockings. A broom leaning against the boots.
The bottom of a black dress with a scalloped edge. Fill in the dress and boots with black paint. Paint the stockings with alternating green and white stripes.
Add the broomstick using beige and yellow tones, adding black lines for texture.
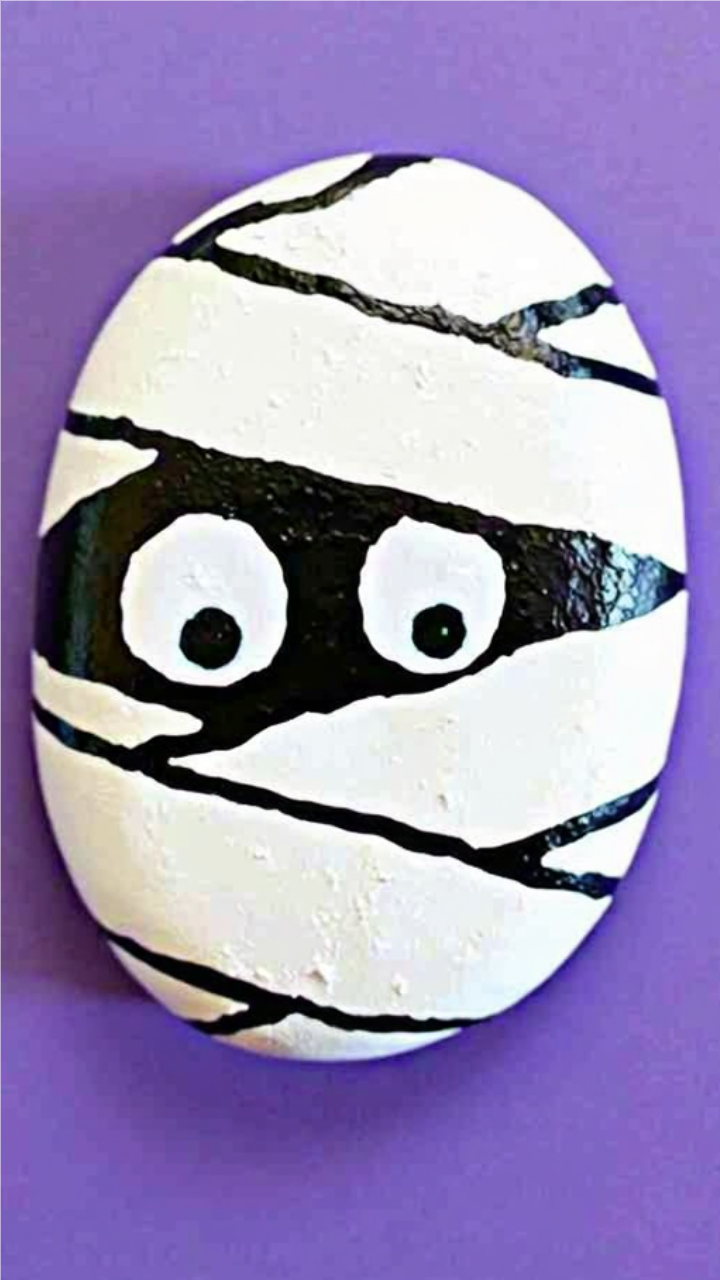
With its peeking eyes and wrapped bandages, this rock is both cute and spooky. Use it for Halloween decor, party favors, or even a festive rock hunt in your neighborhood.
Supplies
- Acrylic paints (white and black)
- Paintbrushes
- Fine-tip paint pen
- Pencil or chalk
Instructions
First paint the whole rock white and let it dry. Then, use a pencil or chalk to lightly draw wavy lines all over the rock to make it look like bandages. Leave an empty space in the middle for the eyes. Paint this area black and let it dry. Next, paint two big white circles for the mummy’s eyes. Put two small black dots inside the circles, a bit to the side, to make the eyes look funny or scary. Finally, use thin black lines to outline the bandages and make them stand out.