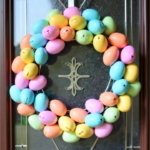
Easter is such a fun time of year full of pastel colors and flowers. Help the kids to egg-spress themselves by decorating an egg for the season. In fact many schools run competitions and it’s nice for kids to get involved in the festivities. You can use plastic eggs or the shell of an egg. Use many things to decorate such as paint, papers and stickers. See how creative you can get with it. Check out these Egg Decorating Ideas for School that kids will love at any time of year but especially for Easter.
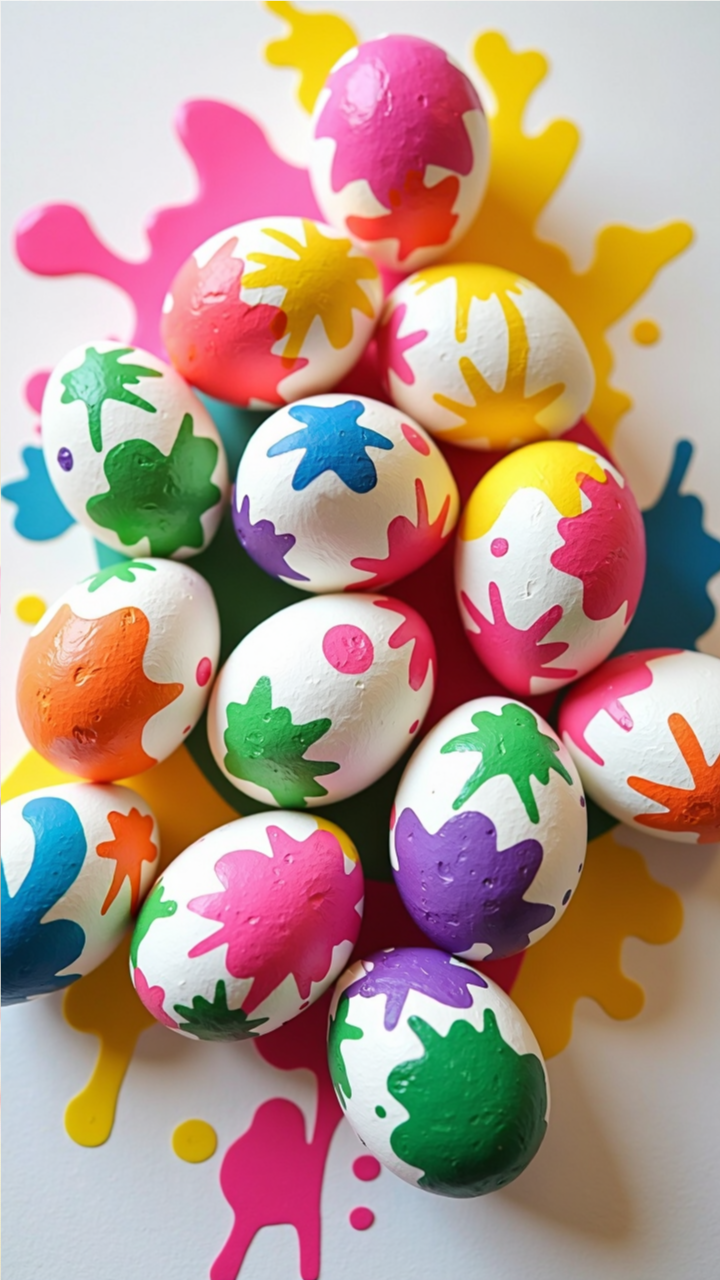
Splatter-paint Easter eggs are a fantastic way to add a modern, artistic touch to your holiday traditions. The best part? No two eggs will ever be the same, making each one a unique work of art!
Supplies
- Wooden or plastic eggs
- Acrylic or tempera paint (in bright, bold colors)
- Paintbrushes or old toothbrushes
- Small bowls or palettes for mixing colors
- Water for rinsing brushes
- Disposable gloves (optional, but recommended)
- Protective surface (newspaper, plastic sheet, or an old tablecloth)
Instructions
Protect your workspace by covering it with newspaper or a plastic sheet. Also, wear old clothes or an apron to avoid getting paint on them. If you want your eggs to have one solid color instead of a white base, you can paint them with one color and wait for them to dry before starting the splatter step. Put different paint colors in separate small bowls. If the paint is too thick, add a little water to make it easier to splatter. Dip a paintbrush or toothbrush into one of the paint colors. Hold it a few inches above an egg and flick the bristles with your finger to create splashes of color. Keep rotating the egg and repeating this with different colors to make it multi-colored. When you’re done with your design, let the eggs dry completely on a drying rack or egg carton.

These adorable Easter egg designs including a chick, a bunny and a carrot will make fantastic decorations for your home.
Supplies
- Craft eggs
- Acrylic paint (white, pink, orange, green, blue, and yellow)
- Paintbrushes or sponges
- Fine-tip black marker or paint pen
- Craft foam or felt (white, pink, and green)
- Scissors
- Glue or hot glue gun
- Cotton balls (optional, for bunny tail)
Instructions
Chick Egg
Paint the egg a bold turquoise or blue shade and let it dry completely.
Using yellow paint, carefully create the shape of a chick on the side of the egg. Let it dry.
With a fine-tip black marker or paintbrush, add the chick’s eye and tiny legs.
Using orange paint, add a tiny beak.
For an extra touch, glue small feathers to the back to create fluffy wings!
Bunny Egg
Paint the bottom half of the egg pink in a zigzag pattern to resemble a cracked eggshell. Let it dry.
Draw or paint a bunny face using black for the whiskers and eyes, and pink for the nose.
Cut bunny ears from white craft foam or felt, adding smaller pink felt pieces inside for detail.
Attach the ears with glue and let them dry.
(Optional) Glue a small cotton ball to the back as a bunny tail!
Carrot Egg
Paint the entire egg orange and let it dry.
Use a fine brush and white paint to add small, curved lines for carrot texture.
Cut small green felt or craft foam pieces to resemble carrot leaves.
Glue the leaves to the top of the egg to complete the carrot look.
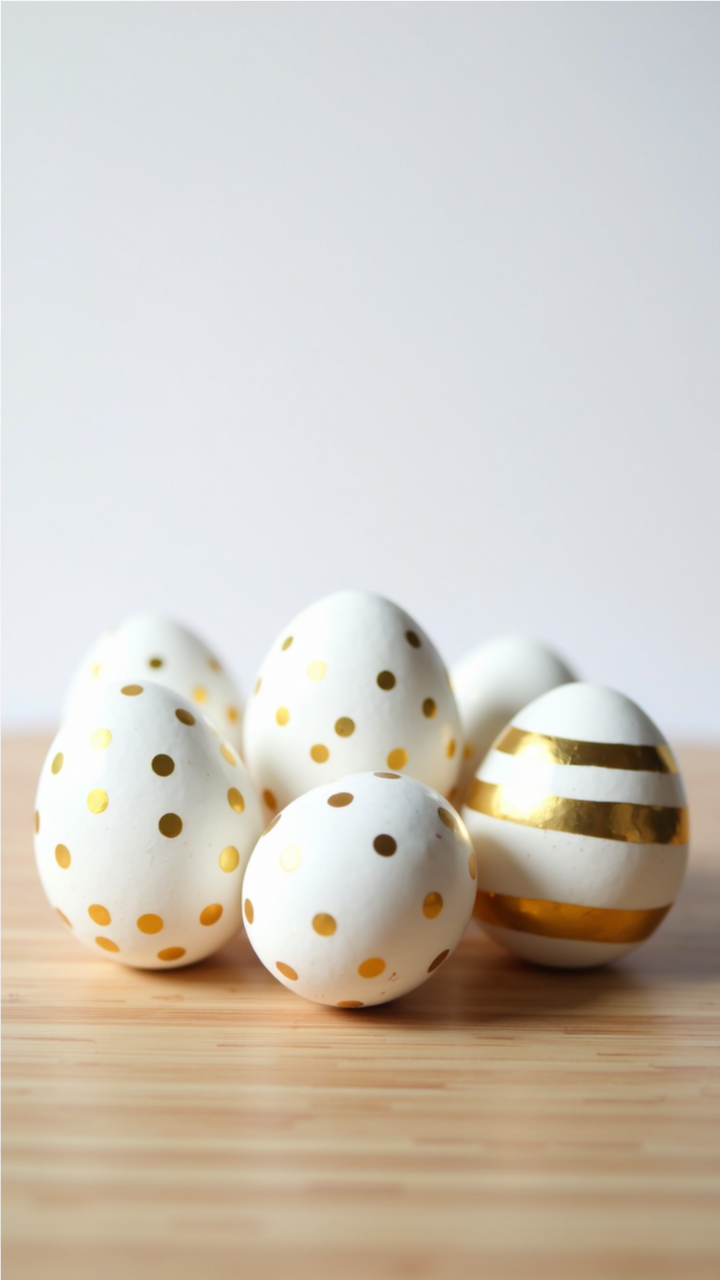
These gold and white Easter eggs are the perfect combination of minimalism and glamour.
Supplies
- Craft eggs (ceramic, wooden, or plastic)
- White acrylic paint (if using non-white eggs)
- Gold foil or gold metallic stickers
- Gold acrylic paint or paint pen
- Double-sided tape or adhesive dots
- Thin painter’s tape (for stripes)
- Soft paintbrush
- Tweezers (for precise sticker application)
Instructions
– Gold Polka Dot Eggs
If your eggs are not white, paint them with white acrylic paint and let them dry completely.
Cut small gold foil dots or use pre-made metallic stickers.
Carefully apply the gold dots to the surface of the egg in a random or evenly spaced pattern.
Press down gently to ensure they adhere properly.
-Gold Striped Eggs
Use thin painter’s tape to create evenly spaced stripes around the egg.
Apply gold acrylic paint or gold foil between the taped sections.
Let the paint dry before carefully removing the tape.
If using gold foil, apply adhesive, gently place the foil, and smooth it out with a soft brush.