DIY Plastic Egg Wreath
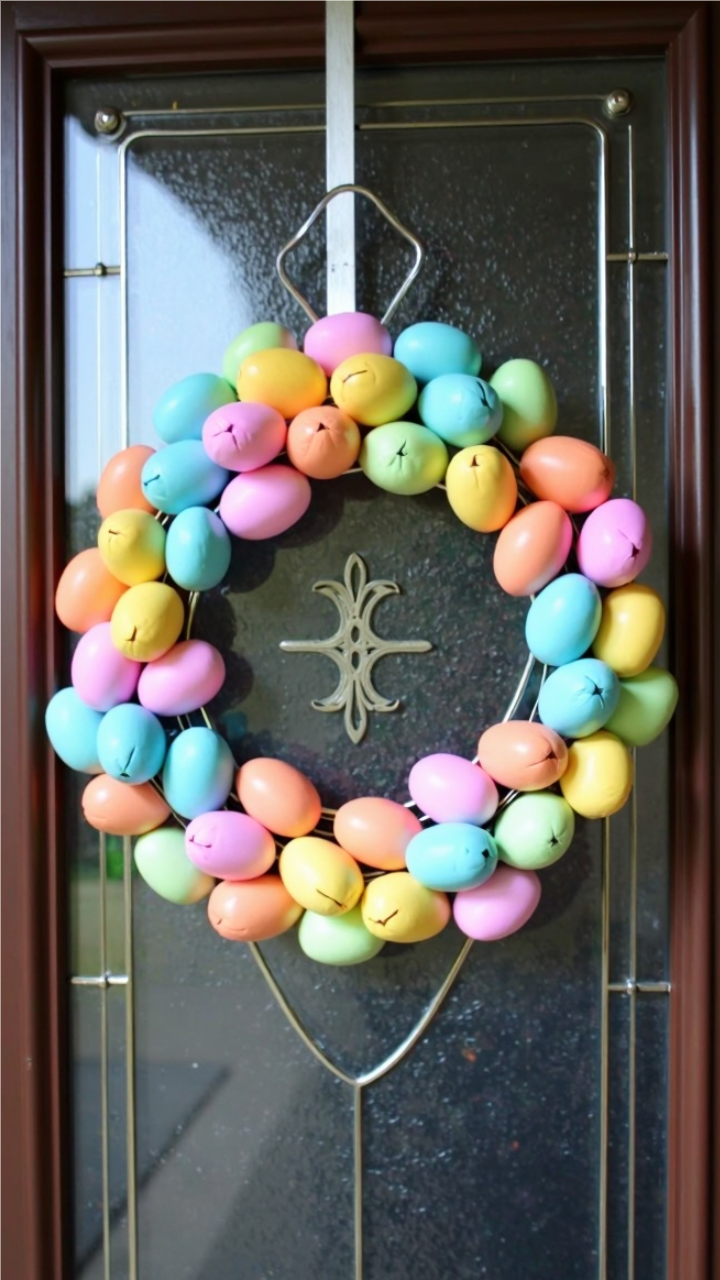
Spring is in the air, and what better way to welcome the season than with a bright and cheerful DIY Plastic Egg Wreath? This easy craft is perfect for adding a pop of color to your front door or home decor. With just a few supplies, you can create a fun and festive wreath that celebrates Easter in style.
Supplies
- Plastic Easter eggs (various pastel colors)
- Wire wreath frame or a sturdy coat hanger shaped into a circle
- Floral wire or hot glue gun
- Ribbon for hanging (optional)
- Scissors
Instructions
Prepare the Base: If using a wire wreath frame, skip this step. If using a coat hanger, shape it into a circular form and keep the hook for easy hanging.
Attach the Eggs:
If using floral wire, thread the wire through the small holes in the plastic eggs and twist them securely onto the frame.
If using hot glue, apply a small amount to the side of each egg and press them onto the frame. Hold for a few seconds until secure.
Layer for Fullness: Continue attaching eggs, alternating colors and positioning them at different angles to create a full, balanced look.
Secure and Adjust: Once all the eggs are in place, check for gaps and add more eggs if needed. Adjust their positions to create a cohesive design.
Add the Final Touch: Tie a ribbon around the top for hanging, or create a decorative bow to attach to the wreath.
Hang and Enjoy! Find the perfect spot on your front door, wall, or mantel to display your beautiful Easter wreath.
Tips for a Perfect Wreath:
Use a mix of glossy and matte eggs for texture.
Try adding faux flowers or greenery for extra flair.
Secure eggs with hot glue and floral wire for added durability, especially if placing outdoors.
This DIY plastic egg wreath is a simple and budget-friendly way to bring Easter joy to your home. Get creative and have fun with it—happy crafting!